Wednesday, 28 April 2021

Natural vs Artificial - Scene - Particles

    Because my room is somewhat in the middle front area, there isn't a lot of magma in my room, so I created some simple particles to make the scene more lively, because there won't be a lot of magma I made a dripping effect. 

    Then I made some complementary particles such as smoke and dust/debris. For the smoke effect I made a variation of it where the smoke comes out a big thinner and less frequent.


Natural vs Artificial - Scene - Blueprints

     For the conveyor belts I didn't just want them to be for show, I wanted to actually make them work, so I quickly made some random meshes in 3Ds Max and applied the metal materials from my trim sheets on there, to act as scrap metals. Then I created a blueprint that will randomize the size of the scrap metals every time it spawned lastly I then made another blueprint to generate the previous blueprint, so it can keep generating random metals along the conveyor belt. Lastly I set the lift time of the metals just long enough to disappear at the very end out of the player's sight. 

     However, when the BP was first created I had trouble having the generated metals to react to the conveyor belt, it will recognize the conveyor belt is there, so the metal will fall on top, but it failed to recognize the panning BP of the conveyor belt. So the metal was not being transported by the conveyor belt.

    With the help of my tutors the root of the problem was that the default root for the blueprint had to be the scrap metals not the default setting.

Bounty Hutner - Render

     When setting up the lighting I really wanted to show off the emissive shaders on the character, so I chose a darker overall environment so the emissive can really shine. However, I don't want to have the scene too dark where you can't see the textures of the actual texture.

    The fill light I set up I wanted to make sure the texture of the jacket to really show, and I think I have achieved that with the jacket catching some highlight but not over exposed, and also it fills in the shadows created by the key light on the side.

    If I had the chance to redo this project I would make the hair a lot better as I feel like the hair is a huge weak point of this character, I feel like a combination of modelling the hair and hair cards will be a huge improvement or making the hair out of thick and bit planes of hair cards.


Bounty Hunter - Texutre

    The textures worked out fine when I put them in Unreal with a slight change as the original jacket was too dark to the point it wasn't showing much information when it came to the roughness and normals, but by increasing the values slightly fixed the issue. I'm very happy with how the gold turned out I feel like it really works well with the overall colour scheme, is also a nice contrast to everything else as everything else is quite rough and the gold is pretty shiny compared to the rest.


Bounty Hunter - Texturing: Baking

    The bake worked out just fine, there were no obvious problems with the bake, however I did run into a defect behind one of the ears where it looked like the smoothing group was not working properly or some sort of baking issue.


However, I didn't understand the reasoning as the other ear was not affected what-so-ever, furthermore, the UV unwrap is the exact same as the other ear too, so it was very confusing on why this happened. At the end moving the ear to somewhere else on the sheet firxed the issue.


 I highlighted here where the original place of the ear UV was.


Boss Battle Arena - Design - Lighting

    After I put the 3D mesh into an engine to start messing around with the lighting, I found one lighting that I really enjoyed and liked also taking inspiration from one of the reference images I gathered, after I set up the lighting properly I took a screenshot and put it into photoshop just to enhance some shadows and lights to the point where i'm happy with it. As the engines have realistic lighting and I just want to cherry-pick some areas to enhance without changing the entire environments setting.


Boss Battle Arena - Design - Final design

    After I simplified my thought process I decided to do a very simple scene, with some big windows for lighting. With the backstory of my character it wasn't too hard to decided what the environment is going to be set in, it was definitely going to be in some sort of building. I feel like this will also really help me with the lighting later on as I feel like I can make some really dynamic lightings with this scene.


Boss Battle Arena - Design - Sketches

     After changing my initial idea I wanted to start doing the sketches and start designing, however when I started I was unable to get any good inspirations or should I say it was very difficult to come up with any good ideas, it was also taking me long than I preferred just to finished one design, so I decided to make some designs in 3D.


       These are some of the designs I came up with, after looking and evaluating these designs I feel like I was overthinking this and making it more complicated than necessary.

Boss Character - Final Render - Finished

     This is the finished final render piece, I approached this the same way I approached the vehicle project, by photobashing it has really helped me with making the painting look more realistic and also speeding up the process overall. I had a lot of fun with this render and I really enjoyed some texture created by the brushes I used.
    What I would do better for the project if I had the chance to redo it would be I would also focus more on how the back of this character will look like, I feel like it's really lacking in some interesting stuffs in general. However, I don't think there was much I could have done as even from the front the main focus of this character is his physic, so the interesting point is his body not necessarily what he's wearing or holding.


Boss Character - Final Render - Sketch


      This is the sketch I came up with before doing my final render, I picked and pulled different design ideas from all of my other notan designs, initially I wanted to include the belt strap on the entire body however after drawing it in and thinking about it, it was not every suited for the theme of this character or the setting of the environment he will be in. So I decided to remove that in the end it also allows me to put more focus and detail on the body which I want. This gives me more room to put more stories on the body itself with scratches and scars. As I said initially I want to emphasize the weakness of the character through his physical appearance by showing how skinny he was and just by the overall stand of the character.

    The overall body shape of this character is slightly hunched over and this is because of the metal arm lock on his forearms, I really enjoy this idea of using what is chaining him down as a way of attacking, I have seen similar ideas in dark souls and bloodborne where the way the boss is swinging its weapon in a way that feels like it's really heavy and weighing them down.

    The head on the body is just for placeholder purposes, I may or may not change my idea on which design I want to use.


Natural vs Artificial - Scene - Prcedural Assets

    After the pipes then I started to place all the other procedural assets in the scene, the main change I made with the room is deleting the original corridor floor, and replacing it with some metal plate floors, even though the floor is still there and the area underneath the floor isn't really going to be used or be any of importance it makes the scene feel much more open and bigger, as there is more space visually, kind of like an illusion.


Muscle Structure. Combining Black and Colour Media

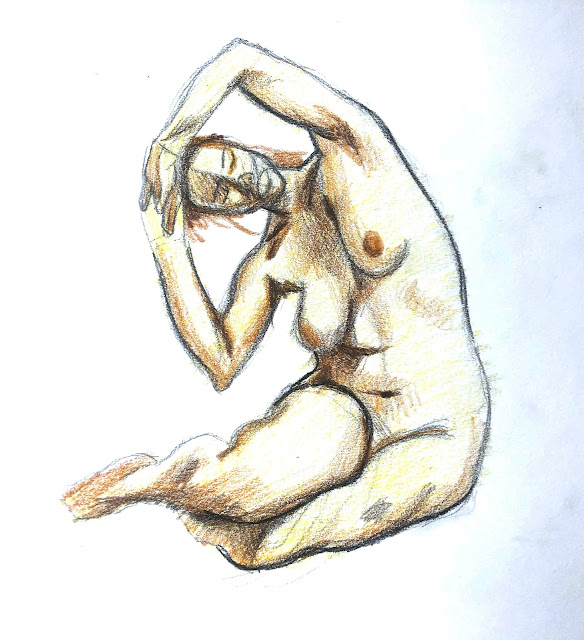
    These are the coloured media with black media, I chose the do the male and female separately so I can focus on each individual drawings ...